So if you have a dog that will let you put it in giant costumes and you've always wanted to scare the neighbors then here is a tutorial on how to make your very own Spider Dog with nothing but a glue gun and a trip to Michael's craft store. Starla is 8 pounds so these directions are for a smaller dog, you'll need more felt and possibly more pipe cleaners if you've got a big dog.

WHAT YOU NEED:
1 12x18 sheet of craft foam
2 9x12 sheets of felt (*Try to aim for colors close to your dog's coat for the foam and felt)
30" strip of velcro
3 giant chenille pipe cleaners (6.5' long each)
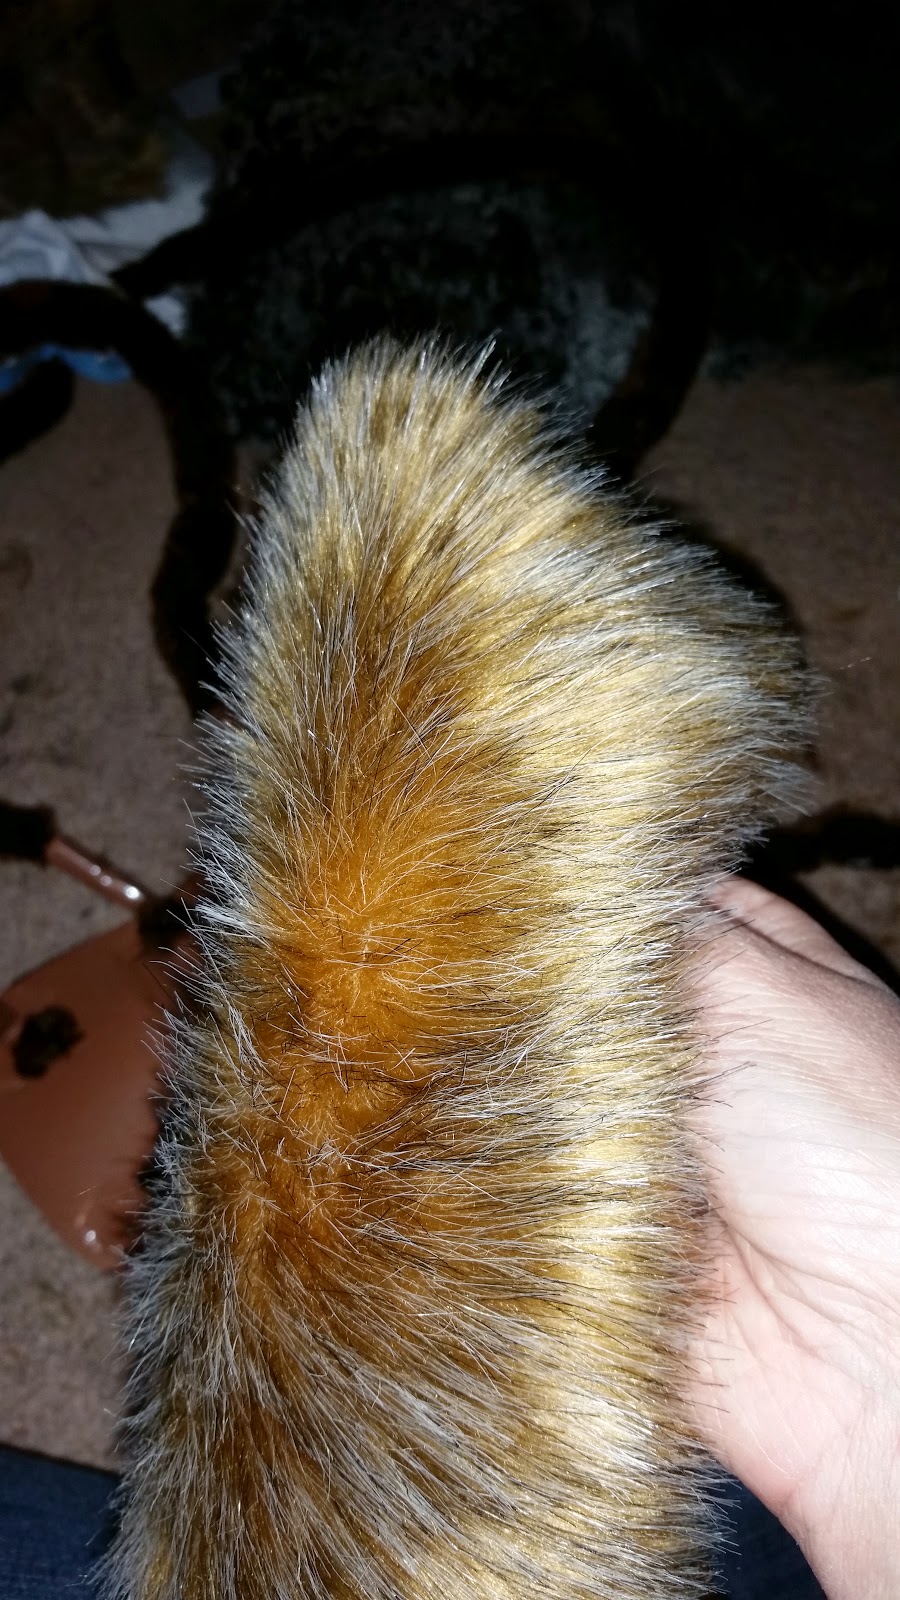
2 9x12 sheets of fake fur OR 5 marabou boas (6 ft long)
Glue gun
Scissors
Sharpie
Packing tape
A willing dog

DIRECTIONS:
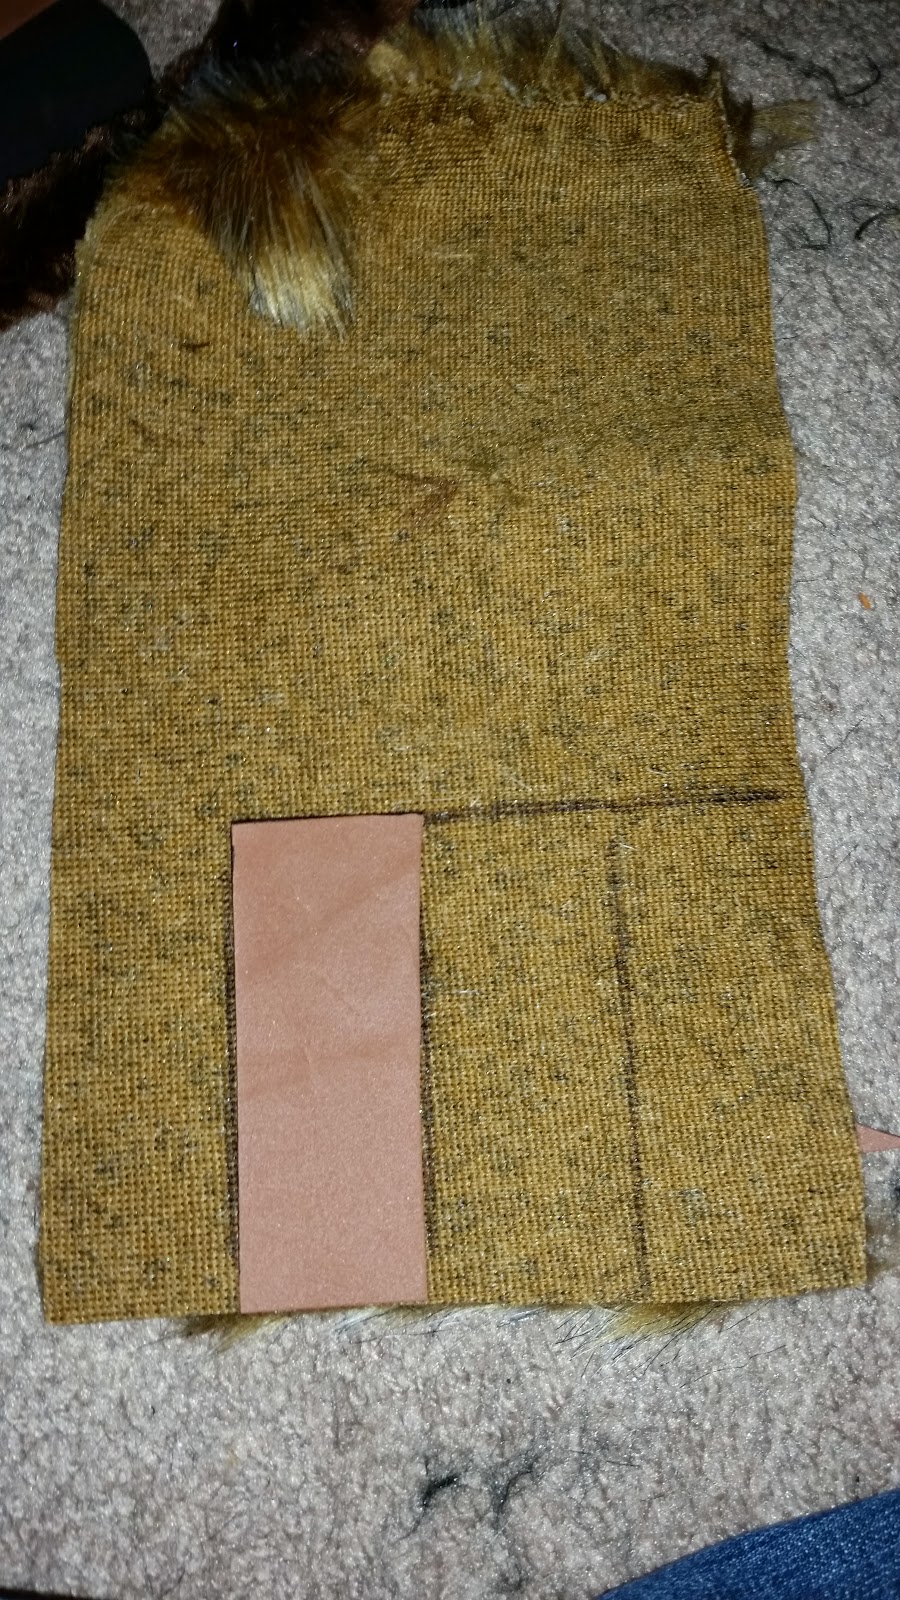
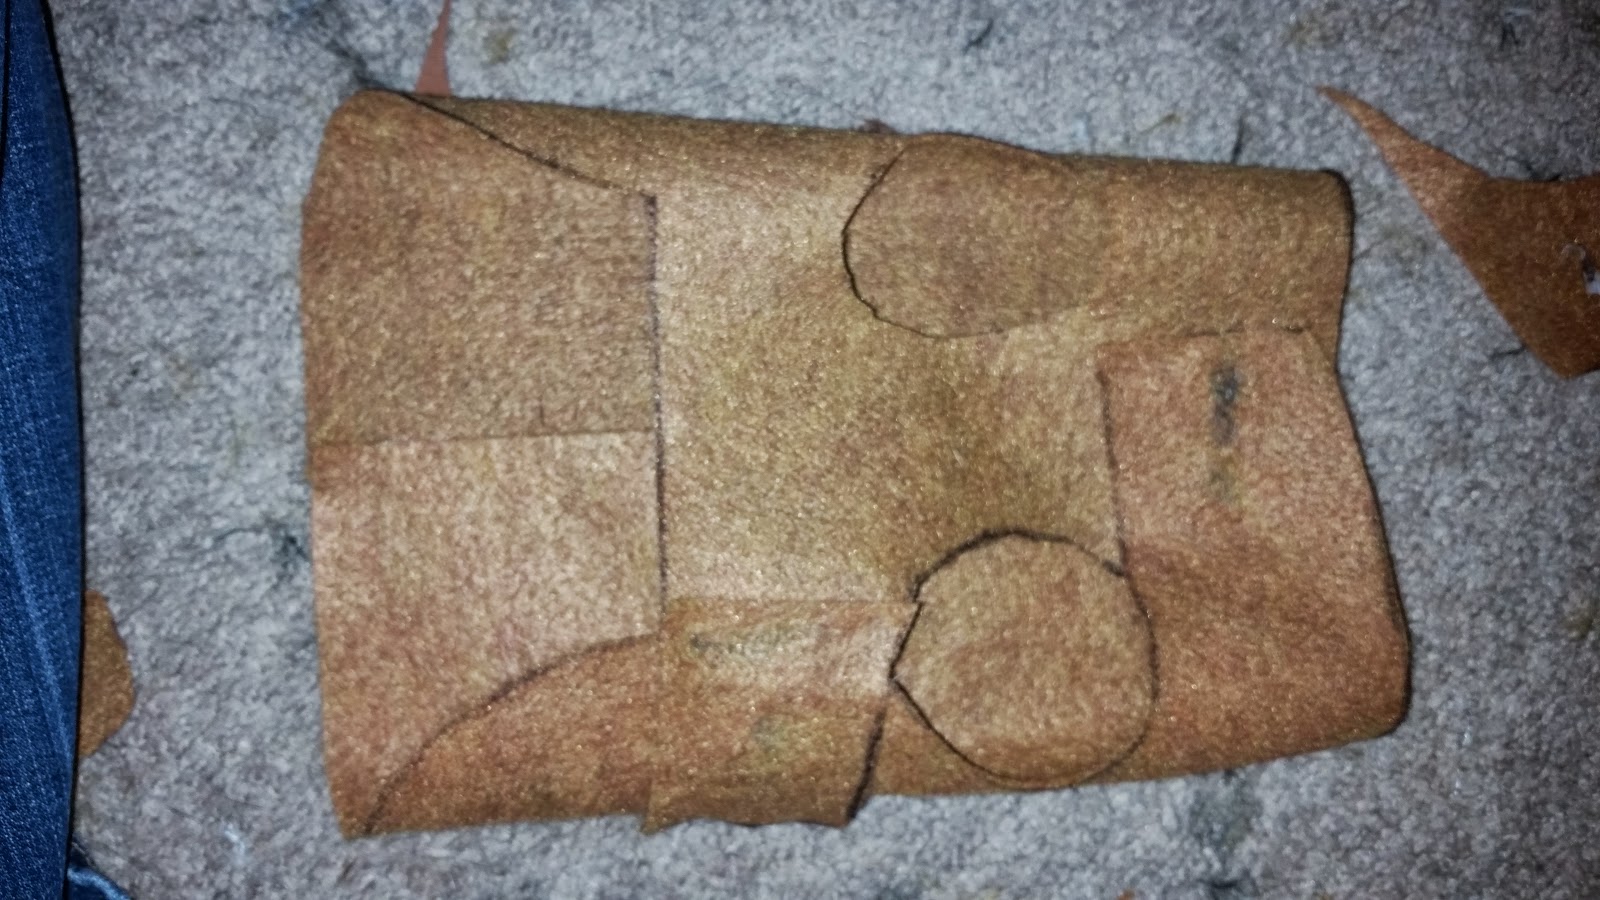
You'll need a base for the legs so take your sheet of craft foam and cut it a round cornered rectangle roughly the size of your dog's back. You want it to fit between the base of the tail and the collar.

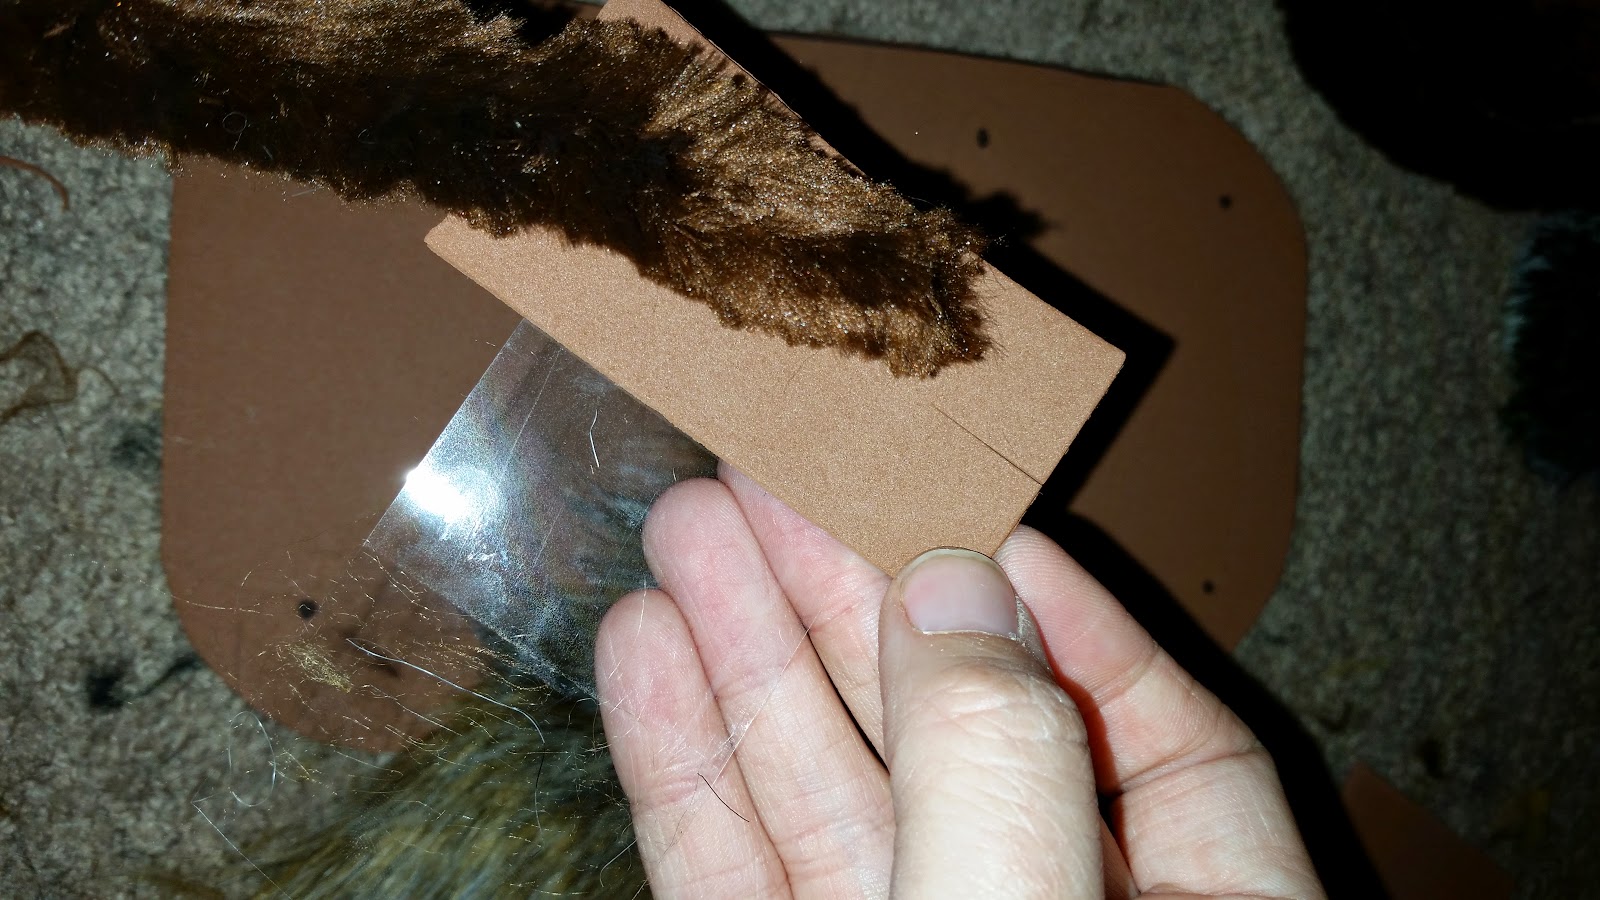
If you're using the fake fur, trace the piece of foam onto the backside and cut out a piece the same size.

(**TIP** don't cut the fur itself, try to only cut the fabric so you don't have a rough edge)

Put 4 dots on each side roughly where you want the legs to go. You don't want them too close to the edge so the legs will stand up higher.

Cut the pipe cleaners into 3rds, you'll end up with 8 legs and a couple spares.

Cut 8 rectangles of foam that will be the base of the legs to give them support. The should be a few inches long and just wide enough to wrap around a pipe cleaner. Snip one end in the middle of all 8.

If using fur, cut 8 pieces the same size as the rectangles with the angle of the fur running across the short side so it will splay out when its rolled around the leg base.
Take a piece of tape longer than the rectangle is wide, and line it up with the unsnipped end. The tape shouldn't cover the snip.You're going to take one of the pipe cleaners and lay it the middle of the foam rectangle with the end flush with the snipped side.
Roll the foam around the pipe cleaner and tape it down. Don't worry about neatness, it'll be covered. Splay out the foam at the end with pipe cleaner bent out between them forming a 3 point base. Hot glue the flaps and pipe cleaner and press them over one of the dots you made on the foam base. One leg down! Go ahead and make 8 more.


If you're using the fur, take the rectangles you cut and and hot glue a line down the long side. Press the edge on the under of a leg and wrap the fur around the base. Glue another line on the remaining edge and pulling the fur tight, press down and close the seam. The fur will go higher than the base because you shortened them with the flaps. Repeat for all 8.

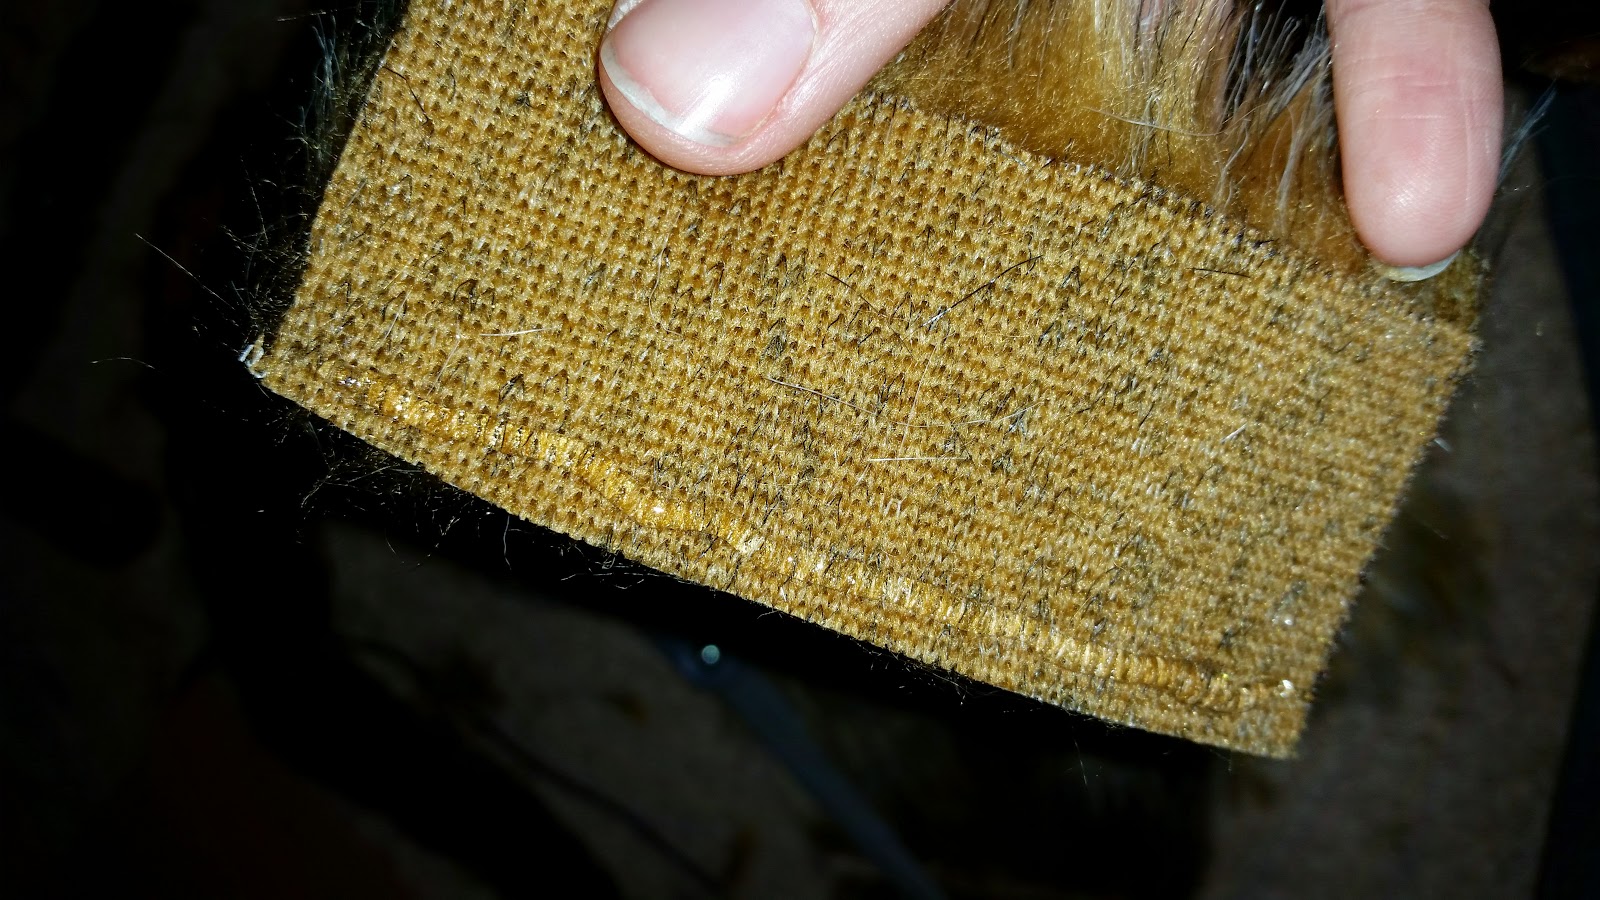
Take your large rectangle of fur the size of the base, and line it up over the back. If you hot glue a line down the center of the foam you can secure the fur to it. Estimate where the legs are and cut a line in from the side so the fur can lie on either side of each leg base. Hot glue the edges down.


If you're using the boas, find the mid point of one and put it in between 2 of the legs (going across the back, not along the side). Wrap each end tightly up the legs until they are a bit past the base. Tie and tuck the ends so the strings don't show. 4 boas will take care of the legs and cover a bit of the back. If you need to, take your 5th boa and and fill in any gaps along the back. If you create a loop at the neck end it'll make a nice fuzzy collar. Since the legs are black I added pompom feet so they'll be seen at night.

You can either hot glue the foam base directly to felt vest you're going to make or you can do what I did and make it detachable with velcro. Take the strips of velcro and cut either 2 or 3 lengths to go on the underside of the foam (keep at least 3-4 inches for the the vest). Hot glue them down lengthwise.

Next, we're going to make the vest. Hot glue the two pieces of felt together at the ends with a small seam.

Take a piece of clothing that fits your dog snuggly and trace it out onto the felt. I used a raincoat that laid flat with 2 points of attachment- one across the chest and one under the torso.

Use your leftover velcro for the attachment points.


Line up your leg foam base on the back of the felt vest and glue the opposing velcro strips down to the felt.

Now is the time to make adjustments to the legs so grab your willing dog and strap it in the costume.

You want the legs to have a good arc so make sure they go straight up as much as possible before falling to the sides. You can make a joint bend to keep the ends from tangling under your dog's feet. Trim the ends so they're close to the ground but won't tangle or trip.

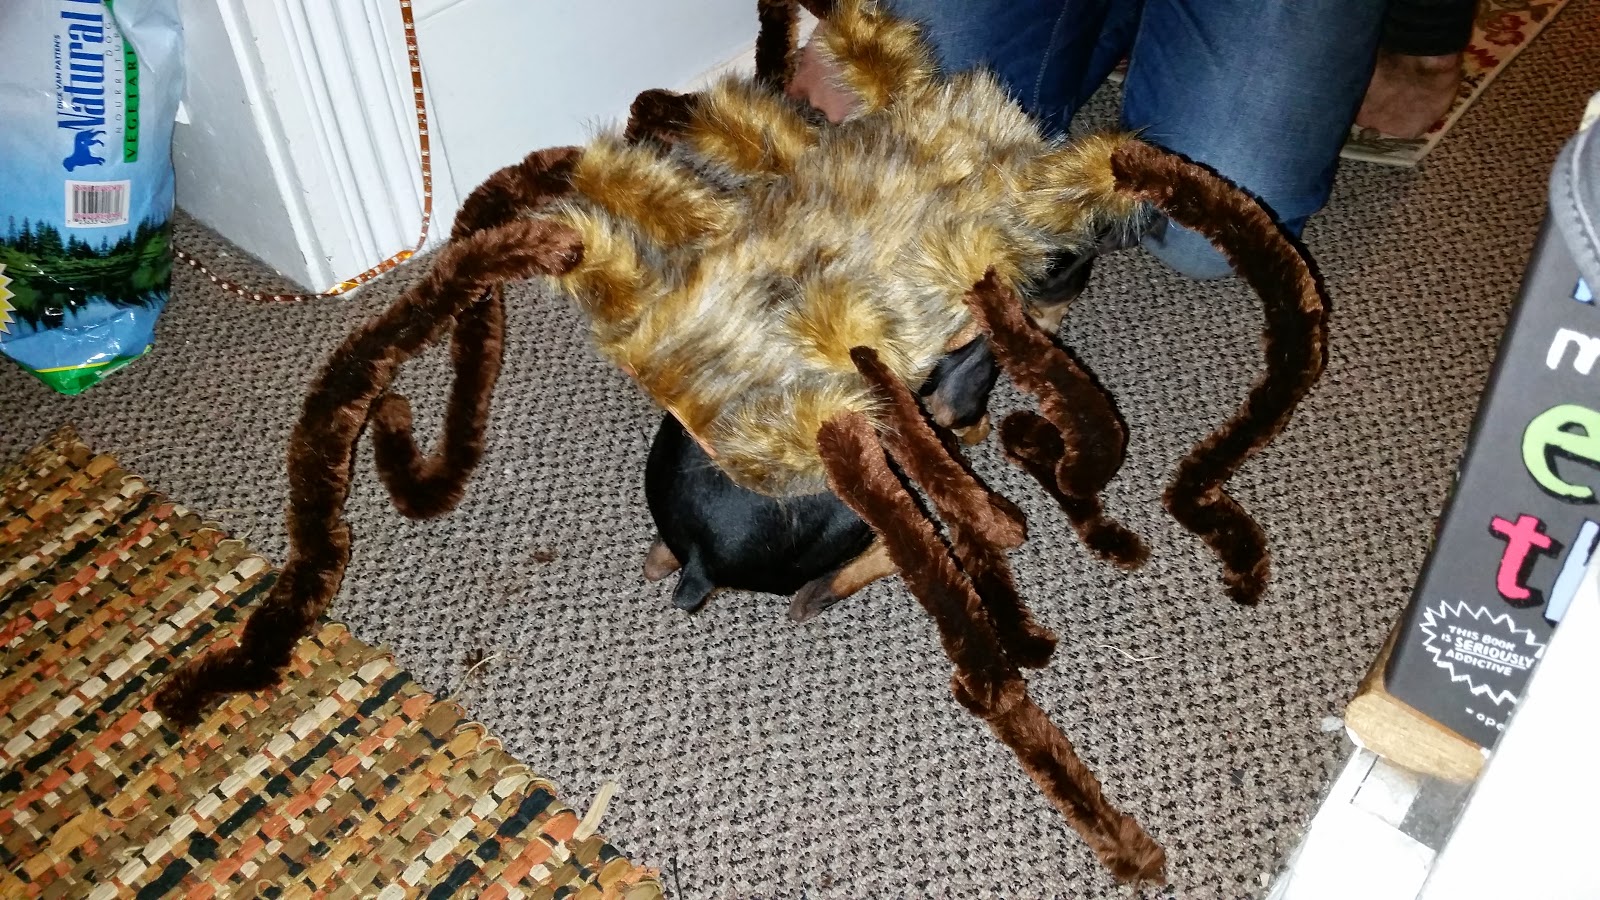
And ta-da! You are done! You now have your very own spider dog.


.JPG)

.JPG)
.JPG)


