Pages

Sunday, September 27, 2015

Halloween is Coming: Building a Big Top


Last week summer became fall and in a few days it will be October which of course means Halloween prep has begun! Last year was the Creepy Doll Tea Party which I didn't think I could beat and frankly I wasn't sure I was up for trying. But I guess the spirit of the Great Pumpkin has filled me with the motivation to throw a Freak Show Carnival this year. With American Horror Story and Twisty the Clown giving me some inspiration, boxes from Amazon have been showing up almost daily delivering the makings of what will hopefully be our best Halloween party yet. For the next month I'll be blogging the progress as we ramp up for our annual extravaganza.

Our neighbors who did a joint party with us the past couple years moved out so this year the party is going to be in my place only. Now since my apartment isn't big and it's pretty full this means I need to utilize every square foot I can. Last year the critters were gated in my bedroom but this year they're going to be gated on the stairs and the bedroom is going to have to be used as party space. A couple years ago I left it open with a few chairs thinking it might be a nice place for a some people to sit and chat where it was quieter but to my great surprise over a dozen people crammed into my bedroom to play a rousing game of Cards Against Humanity while the living room sat practically empty.

Now that the bf has basically moved in we've got a lot of stuff we keep on our dressers and frankly having friends-of-friends and coworkers hanging in my boudoir and seeing what kind of deodorant and foundation I use makes me a bit squeamish. A lady needs a few secrets after all. So how can I keep with the theme of a carnival and keep our personals out of sight? By covering it all with a big top tent of course.

So if you're in need of sectioning off part of a room for your party follow along to learn how to make your own makeshift tent.

How to Build a Big Top Tent

What You'll Need

2 to 3 rolls of a lightweight plastic table cloth (make sure the stripes go the long way)
A length of clothesline cord
Clothespins
Scotch tape
Scissors
Command hooks if needed
Clothespins at the ready
Roll of tablecloth and some clothesline
Plan Your Perimeter
I like to make a game plan so I don't waste my time or resources on mistakes. The first thing I did was sketch out my room and decided where I wanted the tent borders to be. Basically everything would be covered except my bed and drafting table. This gave me an idea of where I would need to tie my clotheslines.
Work smarter, not harder

String the Clothesline
During my post-college-dirt-poor years the thought of spending $2 on drying a load of clothes was inconceivable so I invested in a sturdy clothesline to string around my apartment. Clothesline is friggin great; it doesn't sag much, the knots don't slip, and they're easy to untie. I went low tech McGuyver by tying an end on doorknobs, pulling it over the top of a door and then stringing it across the room to to tie around another door's hinge. Use what you can; sturdy curtain rods, knobs, hinges, etc so that putting up hooks is a last resort.
Clothesline going around a closet hinge

Clothesline trailing over the top a door with another attached to it


Find Your Center
Lucky for me I have an ugly chandelier in the middle of my room that I can tie the panels to. Most rooms have some kind of light fixture in the middle of the ceiling but if yours is more flimsy or non-existent then I'd suggest putting up some sturdy Command hooks, two or three positioned so the tips of the hooks are towards the middle. If you have a popcorn ceiling...you might be S.O.L. They're hard to drill into and nothing will stick to them. You might have to string line across the room and drape the panels over that.
Command hook pattern for your ceiling

Line Up Your First Panel
Unfold your tablecloth and roll out a good amount of length. Gather the end and tie it with a length of clothes line about 18-24 inches long. Attach it to your room center and trail the panel over the clothesline. You want the panel to hang vertically but chances are one side of the panel has further to go than the other to get from your center to the clothesline and it might hang crooked so you'll need alter it a bit. Gather up some slack on the outside and fold it over so that the panel hangs straight and use your clothespins to hold it in place. Cut the panel so it skims the floor.
Pin on the outside

An even drape and hanging straight

The Rest of the Panels
Work in a circle so the panels will all be even with each other. You are going to again gather an end and tie it with the same length of cord as the first panel so they are right next to each other.
Tie the next gather right next to the previous
Gathered ends tied to room center
I found the easiest thing to do is line up the vertical part with the first panel, overlapping a bit, and clipping with a clothespins so they both hang straight. Again, adjust the droop of the panel and use another clothespin to gather up slack and make it look consistent with the previous panel. Keep working your way around the room by tying the gathered in in succession and using your clothespins to get the panels to hang straight and even with each other.
Building out the panels

 Creating An Entry
Depending on how you run your line you might have a gap between the perimeter of your tent and your door, giving your guests the ugly outside view of your tent.
Outside view of tent from the door

I took a length of the table cloth and made an archway lined up with the panels I pulled to the side for the entry. I again used clothespins along the line but had to use tape to attach it around the door frame. It gave me a little tunnel and kept the tent consistent from the door in.
View to the inside now has a tunnel
View to the outside

Securing the Bottom and Edges
During your party you don't want your panels to get stepped on and drag your whole tent down so make sure they aren't too long and when you can, secure them by taping them under your dresser, door, whatever to make sure the ends don't drag. You can also tape the edges together once you're done and remove the clothespins so you have to gaps or ways for your illusion to be ruined by those that always feel the need to peek behind the curtain..

Loose edges could mean an early demise to your big top!

Final Touches
Since we're going scary freak show vs kiddie birthday you'll probably want to add some chilling elements to your final tent. You could put some bloody handprints on the panels, add some creepy carnival music to the background- just let your mind get weird. Going back to my previous blog about party tips we got a shimmery light to add an ominous green glow to the tent.
A little ambiance

Storage
I started building my tent way ahead of time to make party-prep easier which means I can either keep my bedroom looking like a circus or take it down and store it. The former was a little inconvenient so I did the latter. Because your panels are cut to length you need to know what panels go where.Without untying the gathered ends I rolled each of mine up and labelled them in order.
Rolled up for storage
Gathered ends stay tied together
 If you use your hand dandy sketch from the first step you can even number where the panels are on there. I also untied my cords since I wouldn't be able to close my door or get in my closet with them up. Because they were also cut to length I labeled the ends (DK- doorknob, CC- Corner Closet).
End labels
You might think you'll remember between pack up and the next time you use your tent but trust me, it's better safe than sorry to label everything. This way of storage paired with your diagram will ensure that you'll be able to set up your tent again with ease and no confusion.

So there you have it! I'm pre-building my tent in chunks so once it's all up for the party I'll do my best to get photos of the final product the day of. Also stay posted for more blogs as planning and prepping continues. It's going to be epic!


Tuesday, January 27, 2015

Necklace Display Project


I needed something to keep me busy on a snowy evening so I decided to put together the necklace organizers I had bought supplies for over the weekend.  I knew I wanted to hang them on the wall and that I wanted something along the lines of a picture frame but that was about it.  So off I went to Michael's with my little helper and we wandered the aisles in search of inspiration.

I liked the laser cut wood and contemplated just the frames with hooks along the top but then i found full pieces and decided on some black burlap boards to center on them. I found little adhesive hooks that were clear and went with some gold spray paint for the frame part.

I staggered the hooks one width apart along the top of the burlap board and then did an alternating row across the middle using a straight edge to keep them as even as possible. The hooks worked out really well as far as sticking to the burlap and holding the necklace chains.

Next I spray painted the frames with a couple coats and let them dry for about half an hour.

Once the boards were ready I centered the boards on them as best I could and used some stone coasters to mark the edges so when I put the boards down with glue the wouldn't need adjusting. I did a couple blobs of hot glue on each corner very quickly and pressed them on the boards firmly.


I hung my chunkier and longer necklaces on the top row and my thin chains with pendants on the bottom.  Since I did 2 frames I started with gold on one and my silver and dark metals on the other.

I really like how they turned out and it's a LOT easier to see them now. Another alternative would be to paint the frames black with the brown burlap boards or bright paint with white boards but I like the gold to go with some of the deco pieces on my dresser. This was an easy and quick project that could be done in an hour or 2 tops.

Saturday, October 11, 2014

Create Your Own Spider Dog

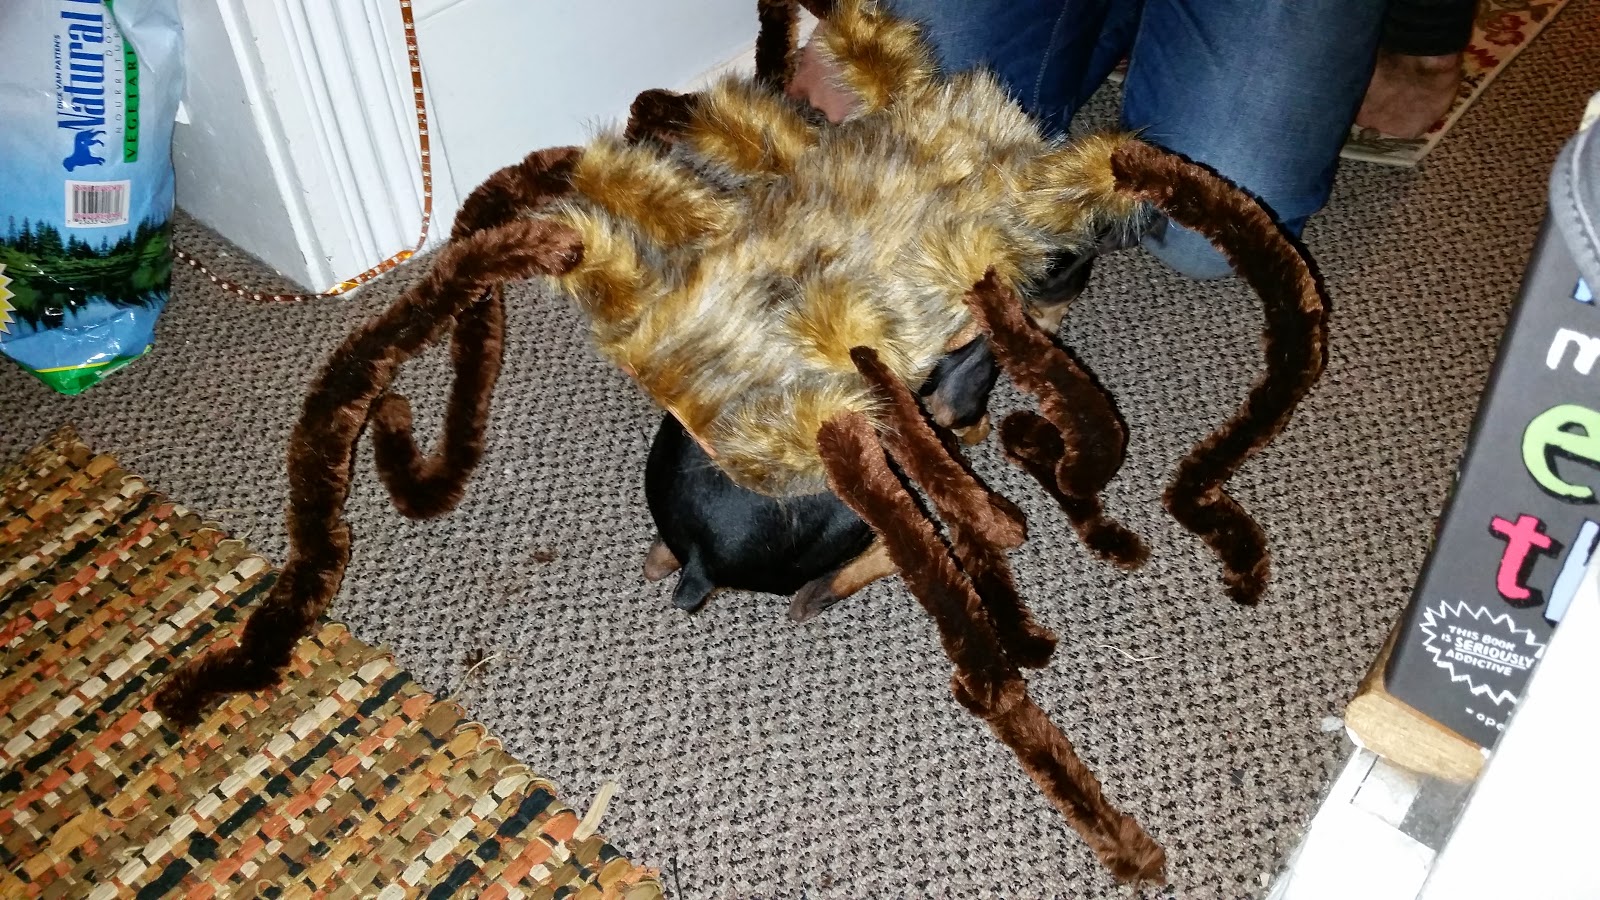
Inspired by this hilarious prank video I decided to make my very own Spider Dog this Halloween for the local dog costume contest. Luckily my little Min Pin, Starla, is a good sport and she let me create an extravagantly ridiculous outfit for her.


So if you have a dog that will let you put it in giant costumes and you've always wanted to scare the neighbors then here is a tutorial on how to make your very own Spider Dog with nothing but a glue gun and a trip to Michael's craft store. Starla is 8 pounds so these directions are for a smaller dog, you'll need more felt and possibly more pipe cleaners if you've got a big dog.


WHAT YOU NEED:


1 12x18 sheet of craft foam
2 9x12 sheets of felt (*Try to aim for colors close to your dog's coat for the foam and felt)
30" strip of velcro
3 giant chenille pipe cleaners (6.5' long each)
2 9x12 sheets of fake fur OR 5 marabou boas (6 ft long)
Glue gun
Scissors
Sharpie
Packing tape
A willing dog

DIRECTIONS:


You'll need a base for the legs so take your sheet of craft foam and cut it a round cornered rectangle roughly the size of your dog's back. You want it to fit between the base of the tail and the collar.


If you're using the fake fur, trace the piece of foam onto the backside and cut out a piece the same size. 

(**TIP** don't cut the fur itself, try to only cut the fabric so you don't have a rough edge)


Put 4 dots on each side roughly where you want the legs to go. You don't want them too close to the edge so the legs will stand up higher.

Cut the pipe cleaners into 3rds, you'll end up with 8 legs and a couple spares.

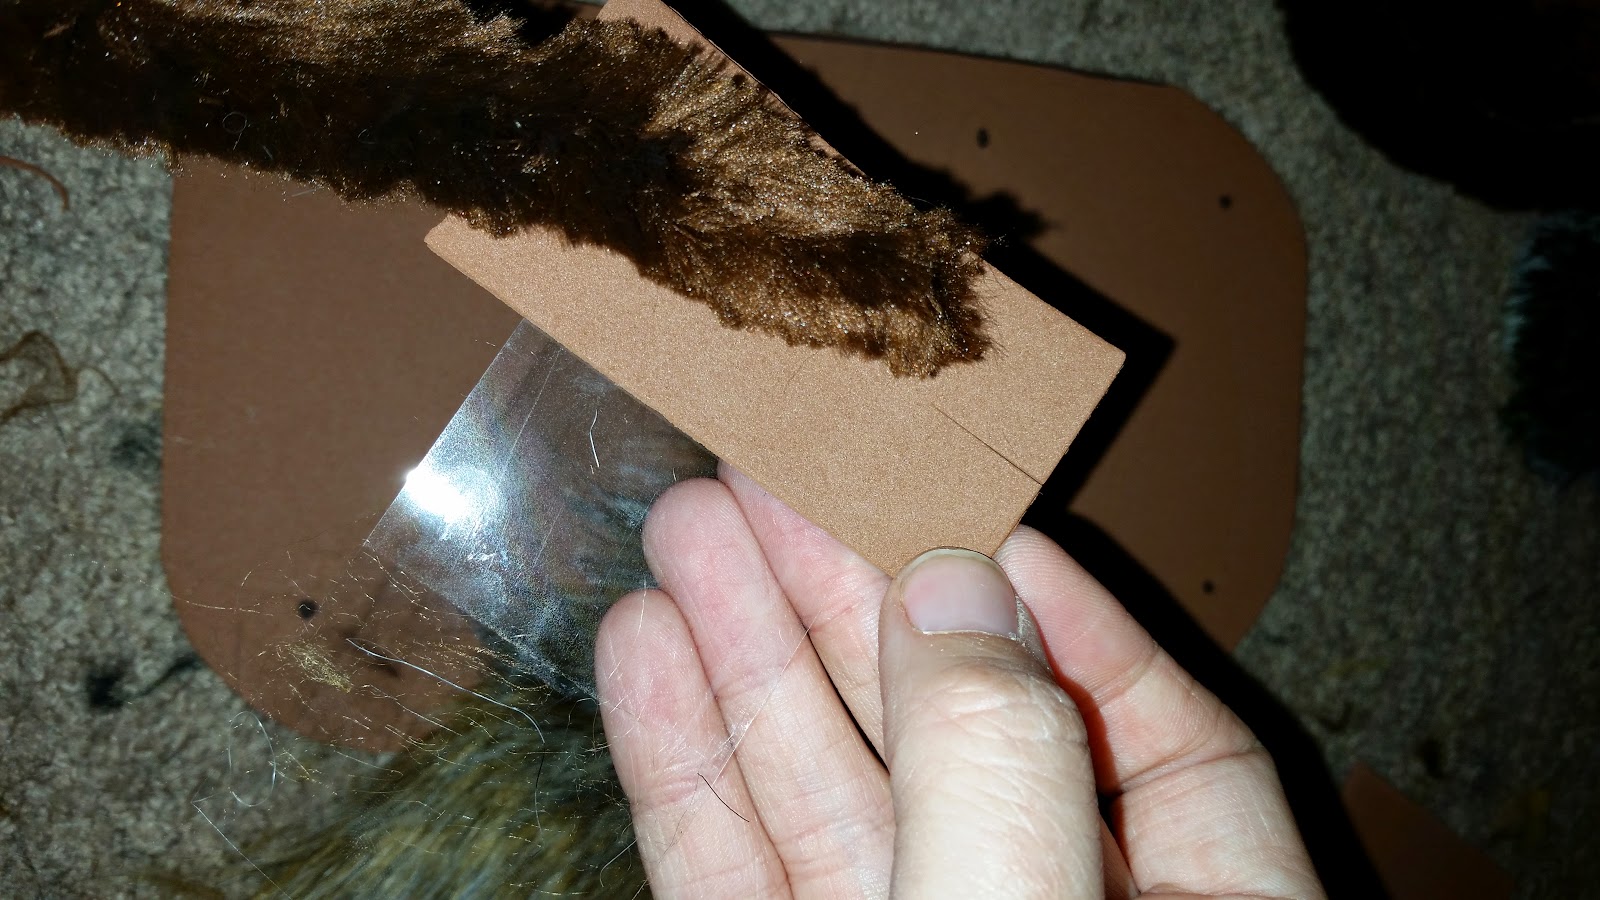
Cut 8 rectangles of foam that will be the base of the legs to give them support. The should be a few inches long and just wide enough to wrap around a pipe cleaner. Snip one end in the middle of all 8.

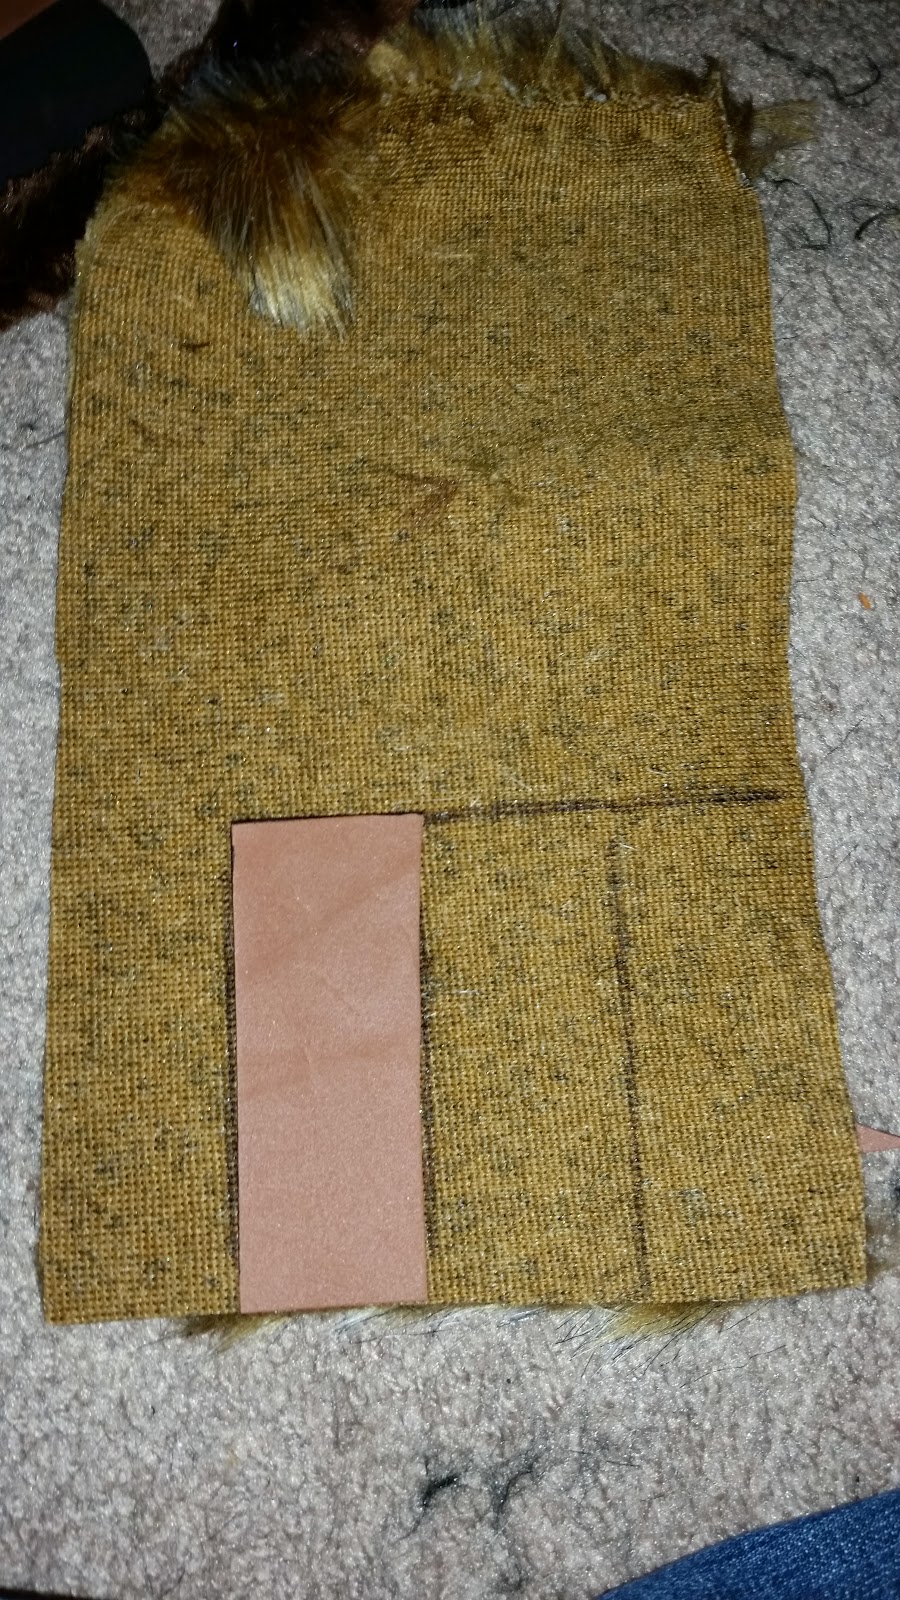
If using fur, cut 8 pieces the same size as the rectangles with the angle of the fur running across the short side so it will splay out when its rolled around the leg base.


Take a piece of tape longer than the rectangle is wide, and line it up with the unsnipped end. The tape shouldn't cover the snip.You're going to take one of the pipe cleaners and lay it the middle of the foam rectangle with the end flush with the snipped side.

Roll the foam around the pipe cleaner and tape it down. Don't worry about neatness, it'll be covered. Splay out the foam at the end with pipe cleaner bent out between them forming a 3 point base. Hot glue the flaps and pipe cleaner and press them over one of the dots you made on the foam base. One leg down! Go ahead and make 8 more.


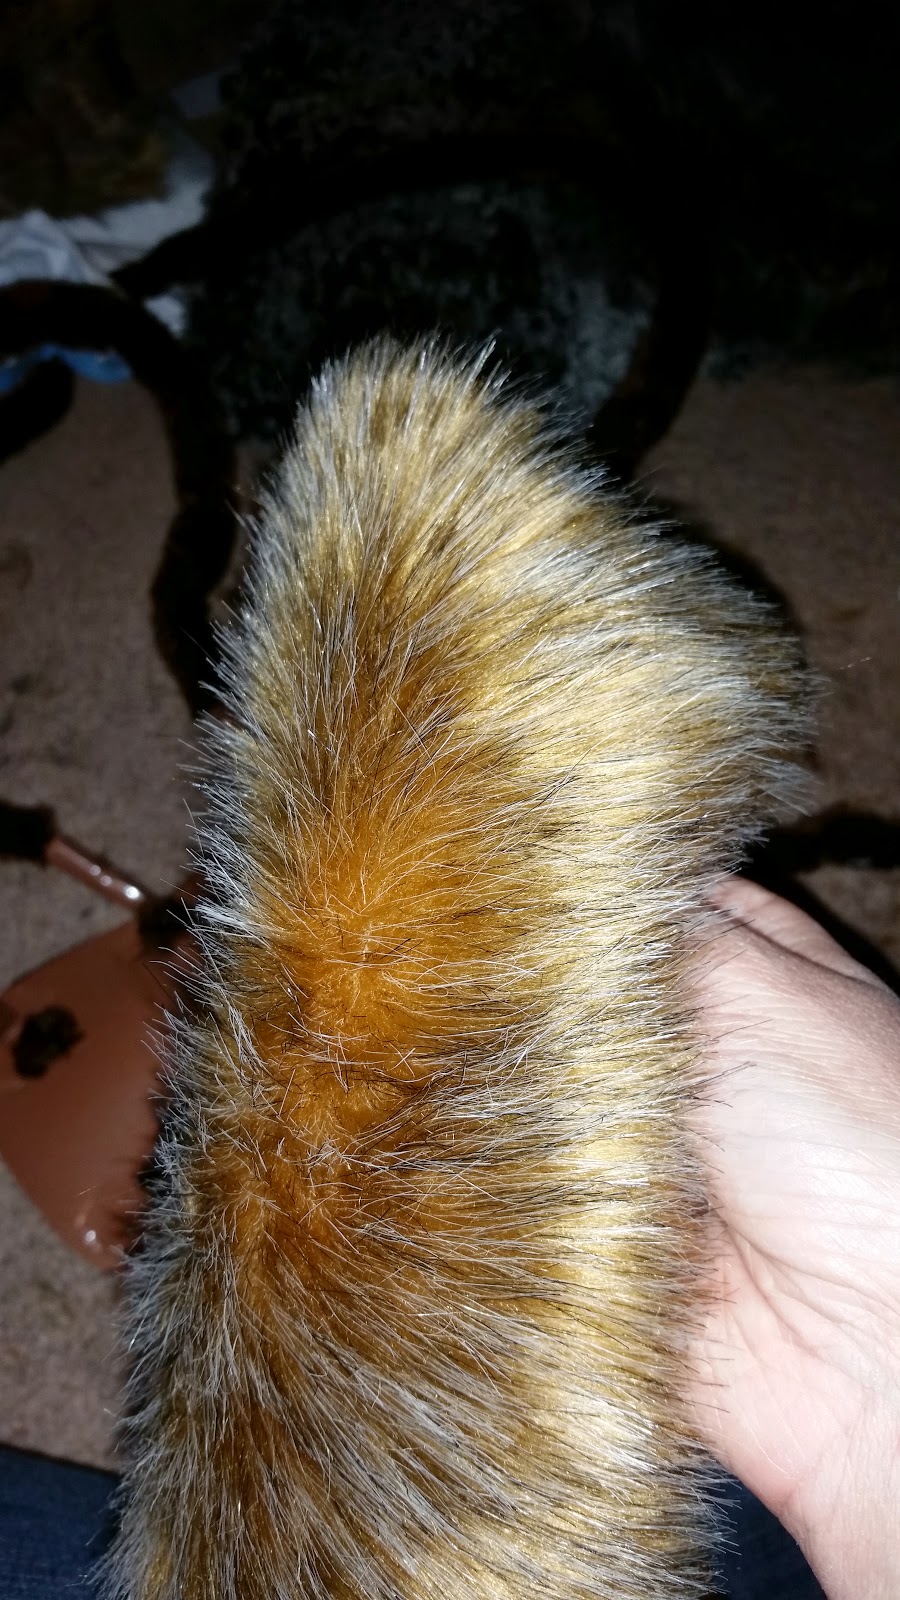
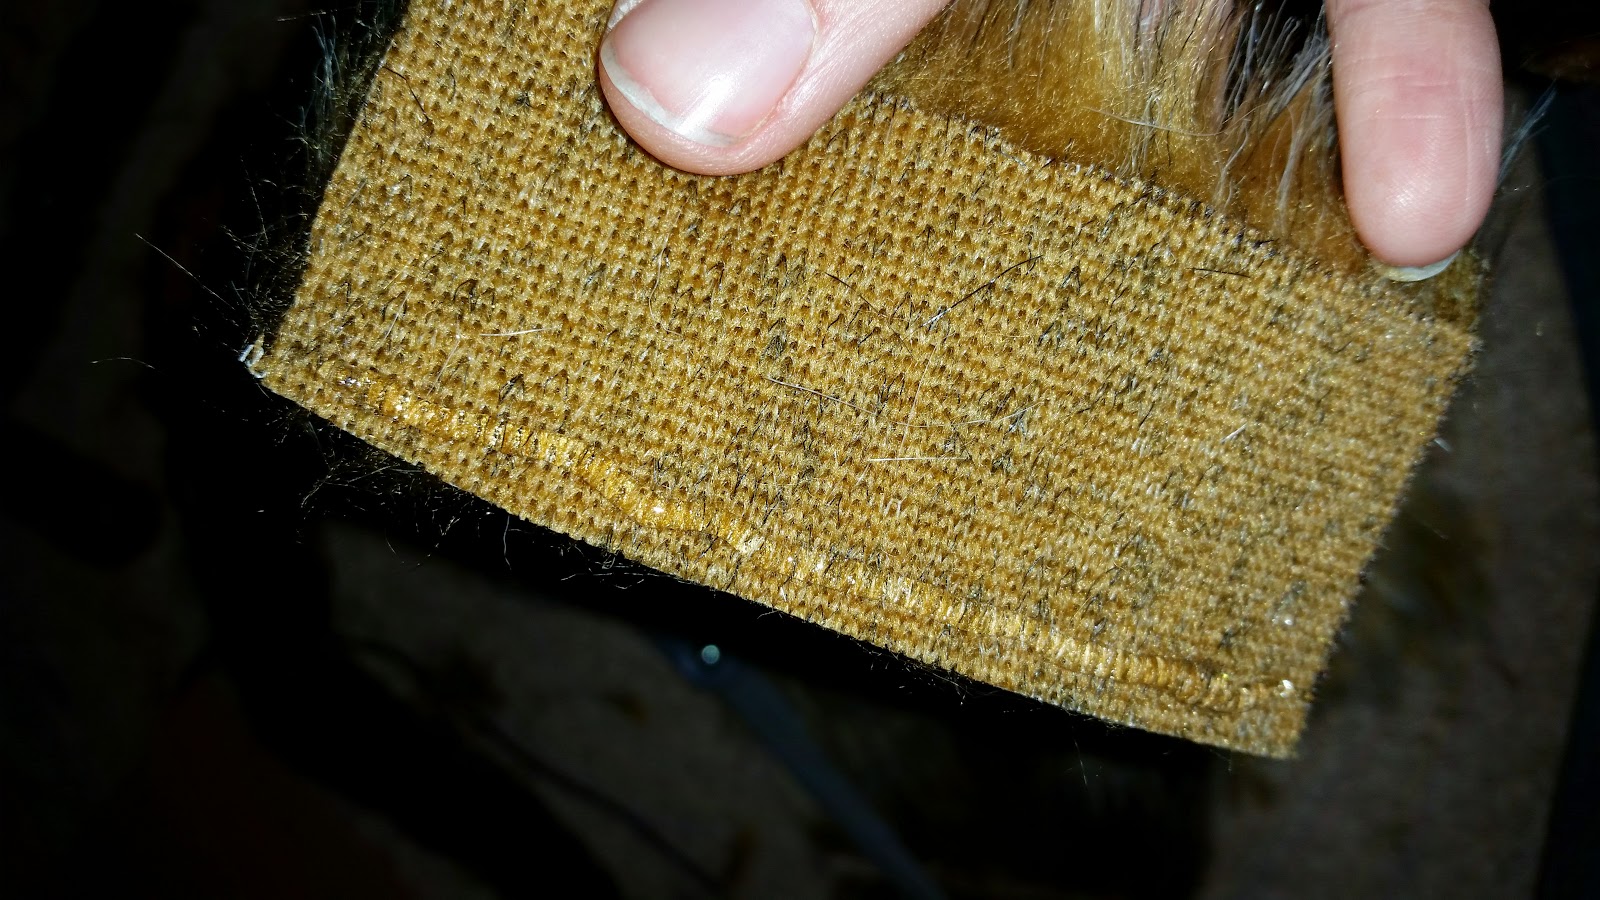
If you're using the fur, take the rectangles you cut and and hot glue a line down the long side. Press the edge on the under of a leg and wrap the fur around the base. Glue another line on the remaining edge and pulling the fur tight, press down and close the seam. The fur will go higher than the base because you shortened them with the flaps. Repeat for all 8.


Take your large rectangle of fur the size of the base, and line it up over the back. If you hot glue a line down the center of the foam you can secure the fur to it. Estimate where the legs are and cut a line in from the side so the fur can lie on either side of each leg base. Hot glue the edges down.


If you're using the boas, find the mid point of one and put it in between 2 of the legs (going across the back, not along the side). Wrap each end tightly up the legs until they are a bit past the base. Tie and tuck the ends so the strings don't show. 4 boas will take care of the legs and cover a bit of the back. If you need to, take your 5th boa and and fill in any gaps along the back. If you create a loop at the neck end it'll make a nice fuzzy collar. Since the legs are black I added pompom feet so they'll be seen at night.


You can either hot glue the foam base directly to felt vest you're going to make or you can do what I did and make it detachable with velcro. Take the strips of velcro and cut either 2 or 3 lengths to go on the underside of the foam (keep at least 3-4 inches for the the vest). Hot glue them down lengthwise.


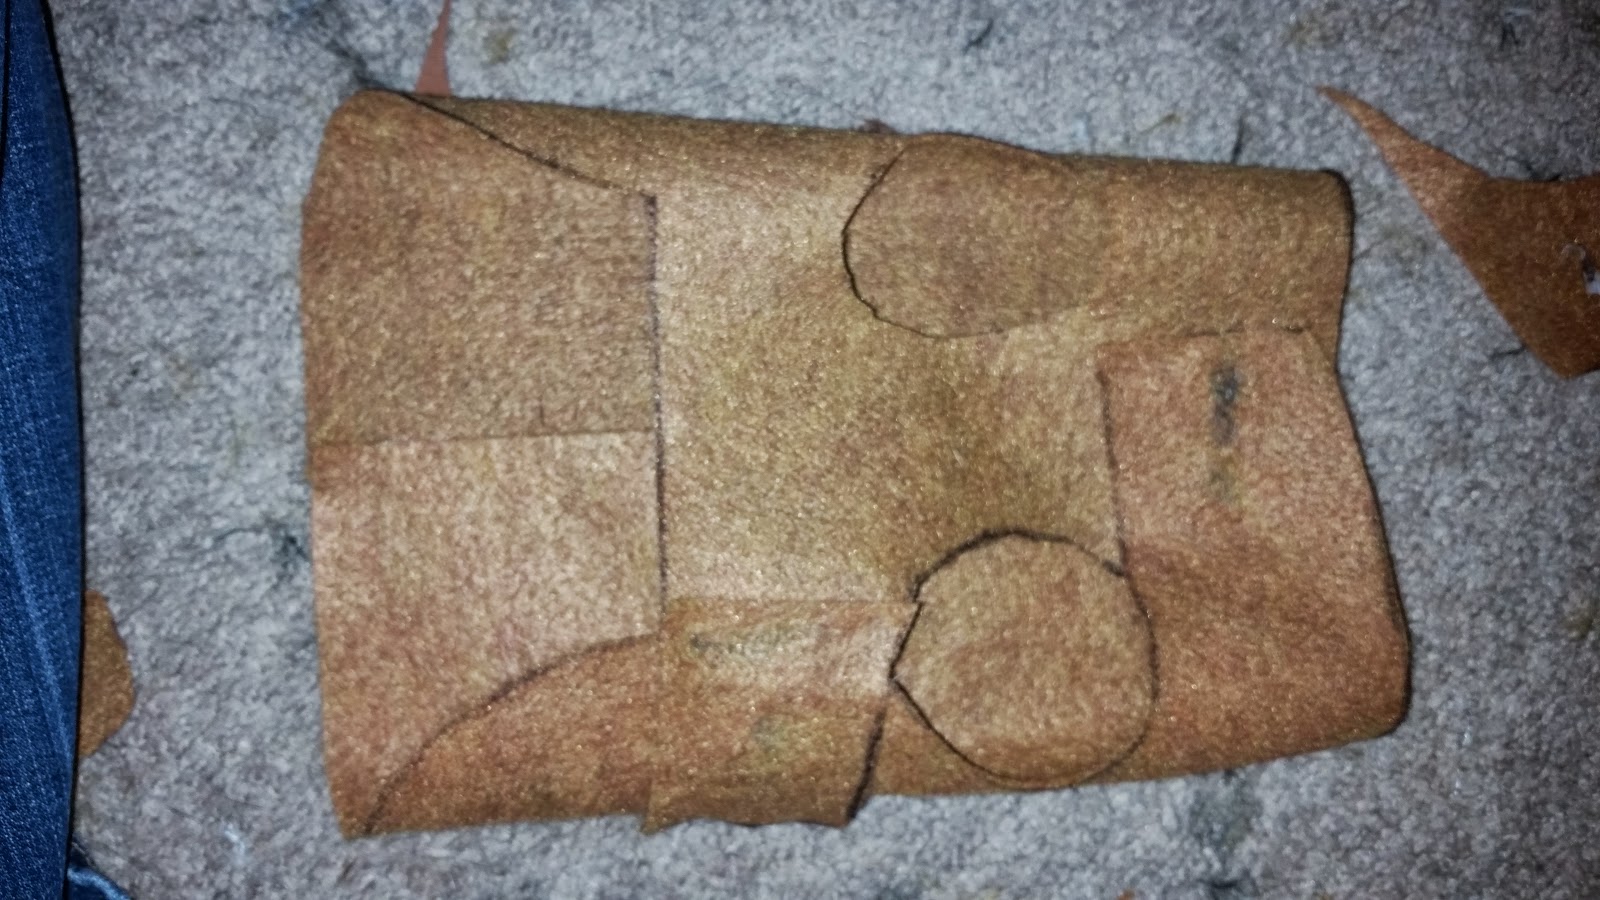
Next, we're going to make the vest. Hot glue the two pieces of felt together at the ends with a small seam.


Take a piece of clothing that fits your dog snuggly and trace it out onto the felt. I used a raincoat that laid flat with 2 points of attachment- one across the chest and one under the torso.

Use your leftover velcro for the attachment points.


Line up your leg foam base on the back of the felt vest and glue the opposing velcro strips down to the felt.


Now is the time to make adjustments to the legs so grab your willing dog and strap it in the costume.


You want the legs to have a good arc so make sure they go straight up as much as possible before falling to the sides. You can make a joint bend to keep the ends from tangling under your dog's feet. Trim the ends so they're close to the ground but won't tangle or trip.

And ta-da! You are done! You now have your very own spider dog.


Wednesday, October 1, 2014

Tis the Season To Be Scary: Part I

While some mourn the end of summer there are those of us who jump into October with gleeful anticipation as stores fill their aisles with skulls, bats, and pumpkins. Whether your brand of Halloween scary leans towards Hocus Pocus or Rob Zombie it is amazing all the options for Halloween that go beyond orange and black. Even Pottery Barn is getting in on the holiday spirit and decking their windows in full sized skeletons and beautifully painted fake pumpkins. So much inspiration everywhere for my Halloween party yet the spark I got for this year wasn’t found in the hallowed aisles of Michael’s craft store but instead buried in a trunk at my grandparents’ house:
WHY, GRANDMA,WHY??
I quickly texted the photo to my mother to find out if these dolls were in the house intentionally or they had somehow snuck into my grandmother’s room at night. Apparently they were from Germany in the 60’s and their clothes were lost in a move. She called them "cute"; I quickly reburied them under old aprons and photo albums and locked the trunk. I showed the photo to fellow Geek Girls and they all had the same reaction as I did- WTF are those?? Combine this with the “Annabelle” movie trailers starting to pop up and my 2014 Halloween party décor theme was born…

Just a pile of heads...
So by mid-September I was scouring eBay for creepy doll heads and loading up my Pinterest board with disturbing images of all the nightmare-inducing decorations one can make with dolls. By the time the last of my freaky purchases arrived I had several boxes of heads spread around my living room.

Try waking up from a nap on a couch to this

They range from the old blinking eye ones with chipped paint and blank stares to cheap plastic faces from craft stores in the 70’s. You truly can find anything on eBay but I drew the line at a haunted doll named Michael that the seller is pretty sure is inhabited by the spirit of a 5 year old killed in a house fire. My luck has been bad enough lately, no need to spit into the face of fate.

WITHOUT a haunted doll
Kelly and I pilgrimaged to the dollar store and Walmart one night looking for the cheapest of cheap dolls. Basically nothing says that more than a $1 Barbie knockoff that you don’t even really need to pry the limbs off, they just kind of fall off on their own. My favorite find was a weird looking baby doll that managed to crossover quite well with a decorative skeleton so I started happily popping heads off in the car and the skele-babies were born:
A vast improvement
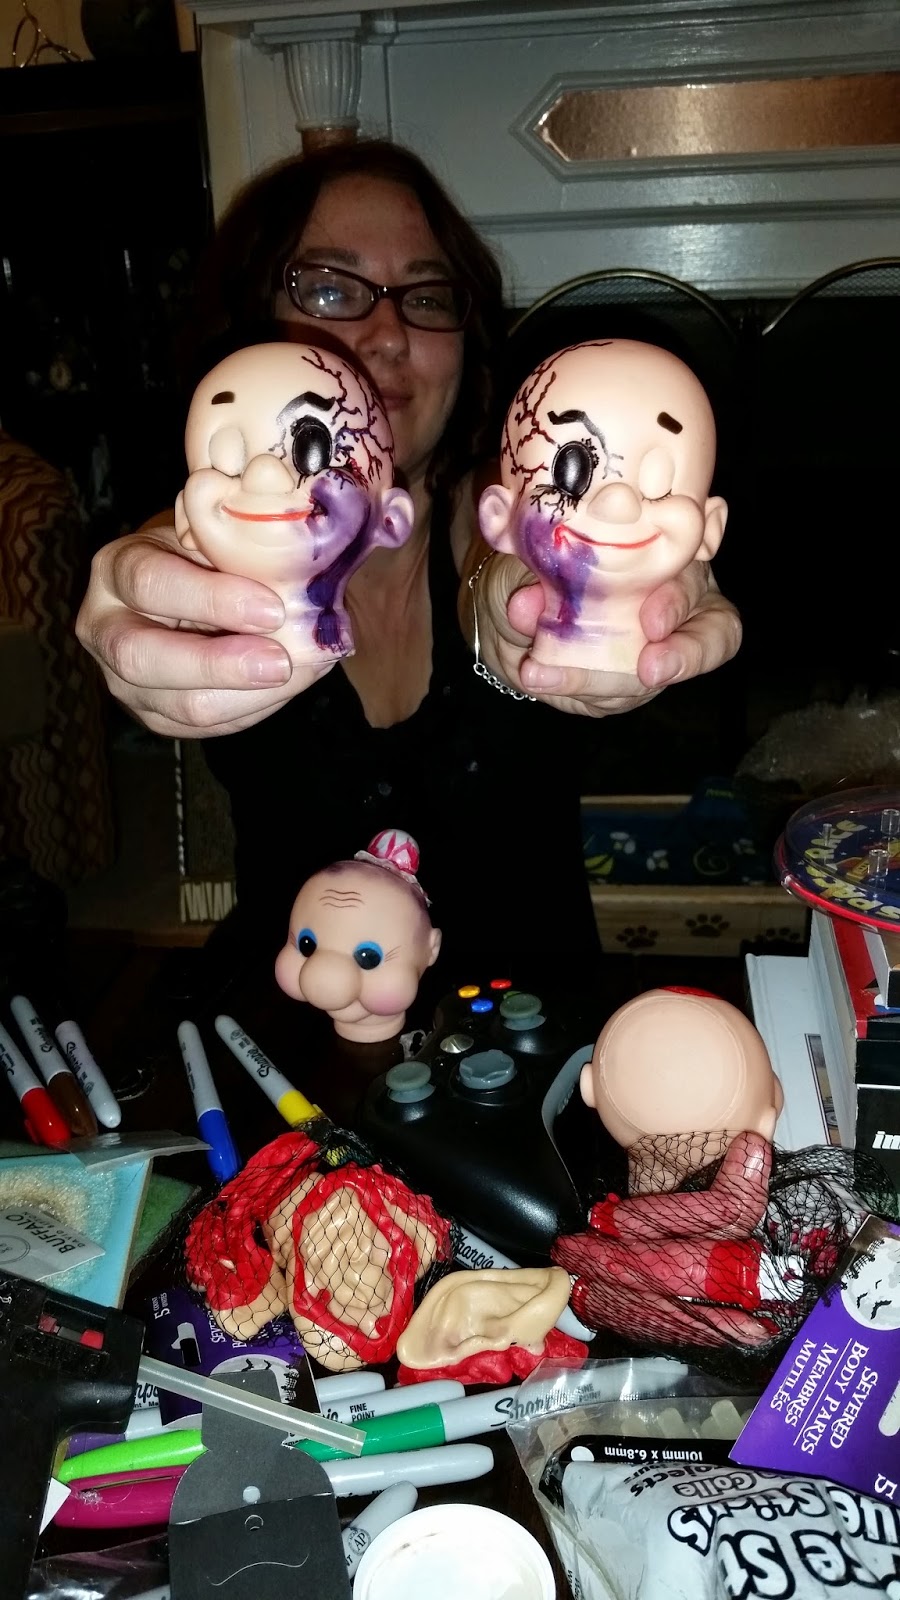
I dumped sharpies, buttons, and hot glue sticks out on my coffee table and Beth and I began to dig through the pile of cheap plastic doll heads. We separated out those that are more goofy than creepy and got our twisted creativity on. Our first session produced some good results: 

Beth getting her freak o

Living out their Halloween Destiny


As we prepare more over the month I'll keep updating on our progress and hopefully things will come together horrifyingly. Hopefully my landlord won't need to come over anytime soon because an apartment full of mutilated dolls may not get my lease renewed...

-Geek Girl Friday